We don't need a handful of people doing zero waste perfectly. We need millions of people doing it imperfectly. - Anne-Marie Bonneau
It can be difficult to know how you can help the environment or what changes you should be making in your home to reduce your impact. With new advice and news almost daily, it’s hard to feel like you’re making a change but the best way to be better to the planet is simply using and wasting less. In a return to a waste-not want-not attitude, we’re all trying to live a more zero-waste life, making our kitchens as eco-friends as possible, but saying no to single-use plastics, recycling cartons, cutting down on meat and dairy, and shopping local.
But how about food waste? Over a third of all food globally produced goes to waste, with the UK wasting over 15bn of edible food each year. Cutting down on the amount of food you throw out year on year is the best way to boost how green your kitchen is, and the easiest way to do that? Invest in reliable, secure food storage.
So for zero waste week, we’ve teamed up with Kilner to bring you some recipes to save your food from the bin.

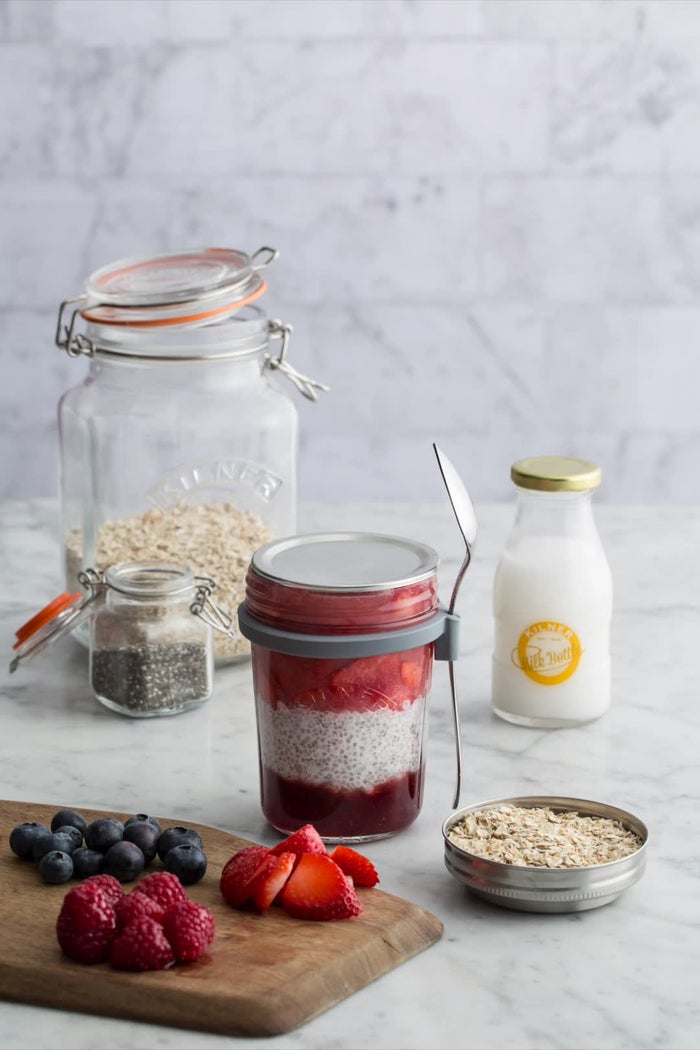
Strawberry Jam Oats
Oats that have been sat in the cupboard too long? Strawberries that are getting a little past it? Overnight oats are a great option for using up any left-over breakfast food while ensuring a quick grab-and-go healthy option. Throw in any berries or bananas you’ve got lying around, or even some yoghurt that needs using to make it extra creamy, anything works.
Ingredients
45g rolled oats
120ml milk
100g strawberries
1 tsp honey
1 tsp freshly squeezed lemon juice
1 tsp chia seeds
Method
Set up your 5 Kilner® jars. You can use a 0.5-litre clip top jar or preserve jar.
Pour the oats to each jar and seal and store in the fridge.
In a separate bowl add the strawberries, honey and lemon juice and mash with a fork until puréed.
Mix in the chia seeds so everything is fully combined. Store in the fridge in a Kilner® preserve jar. You can prepare enough puree for the whole week ahead as long as it is stored in an airtight jar.
Add the milk to the oats before heading to bed each night.
In the morning, layer the strawberry jam on top of the oats. Feel free to top with more fresh strawberries, nuts or any other topping of your choice.

Kombucha
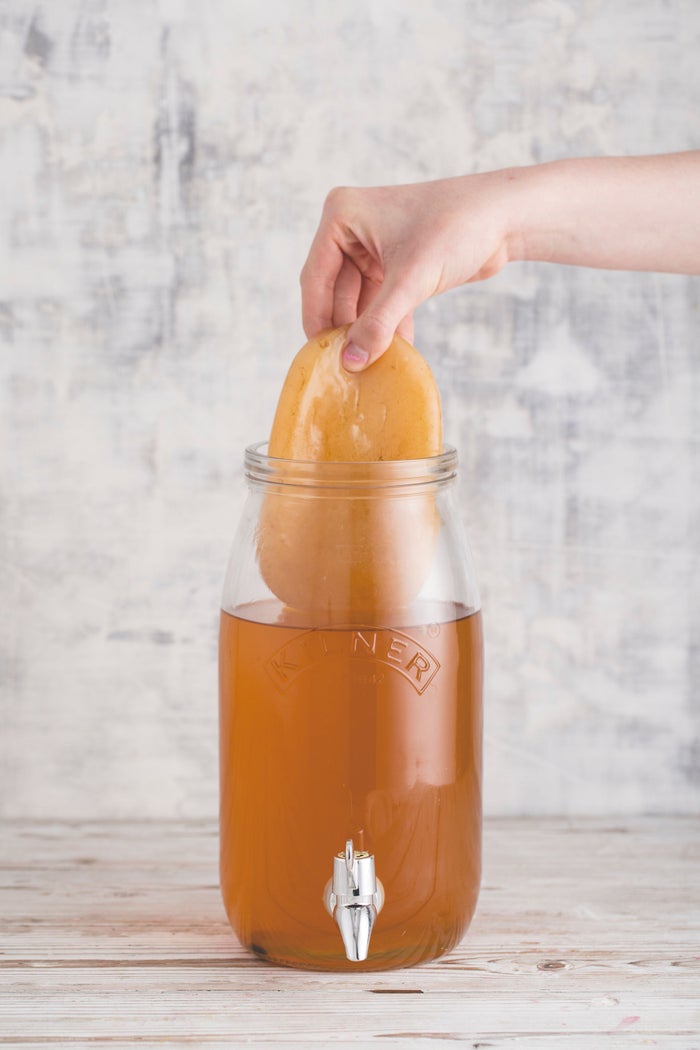
The wellness crowd’s favourite drink, Komucha is packed full of antioxidants and probiotics to promote gut health. It can be made in big batches so you can swap out your lemonade for a plastic-free, homemade and healthier option for yourself and the planet. It takes a little while to get the method down, but Kilner's komucha set makes the prospect a little less daunting. Here's the recipe that never lets us down.
Ingredients
2.5 Litres of water
4 – 6 Tea bags (at least 2 of which should be black tea bags)
225g White sugar
1 Kombucha culture (This is called a Scoby)
300ml Kombucha tea from a previous batch, or 3 tbsp of cider vinegar
Method
Bring 2.5 litres of water to the boil. Turn off the heat and add 225g of white sugar and 4-6 teabags then stir with a wooden spoon. Leave for 15 minutes before removing the teabags.
Leave the mixture to cool further until it reaches room temperature.
Add 300ml Kombucha tea from a previous batch or store-bought pre-made Kombucha (or 3tbsp of cider vinegar). Pour into the Kilner® Kombucha Dispenser.
Allow the mixture to fully cool then add the scoby. If the scoby is added when the liquid is hot, it will prevent fermentation. It is important that air is allowed to circulate around the Kombucha mixture.
Watermelon and Berry Kombucha
Once you’ve got the basics down, Kombucha is a great way to use up fruit. Make a fruit punch by thrown any leftover fruit, or herbs like fresh mint or rosemary, into a glass with some ice. Our favourite combo is watermelon and berries.
Serves: 6-8.
Ingredients
¼ watermelon, cut into cubes
400ml sparkling water, chilled
300ml kombucha
100g mixed berries
1 lime, thinly sliced
Sweetener to taste (optional)
Method
Add the berries and all but a handful of the watermelon cubes and lime slices to a large pitcher (you'll use those as garnish).
Add the sparkling water and kombucha, and stir to mix. Crush some of the berries to release the flavour.
Taste and stir in sweetener (if required). We used approximately ½ of a dropper full of liquid orange flavoured stevia. Agave nectar would also work well.
Pour the cocktail into ice-filled glasses and garnish with a slice of lime and a cube of watermelon.

Nordic Fermented Vegetables
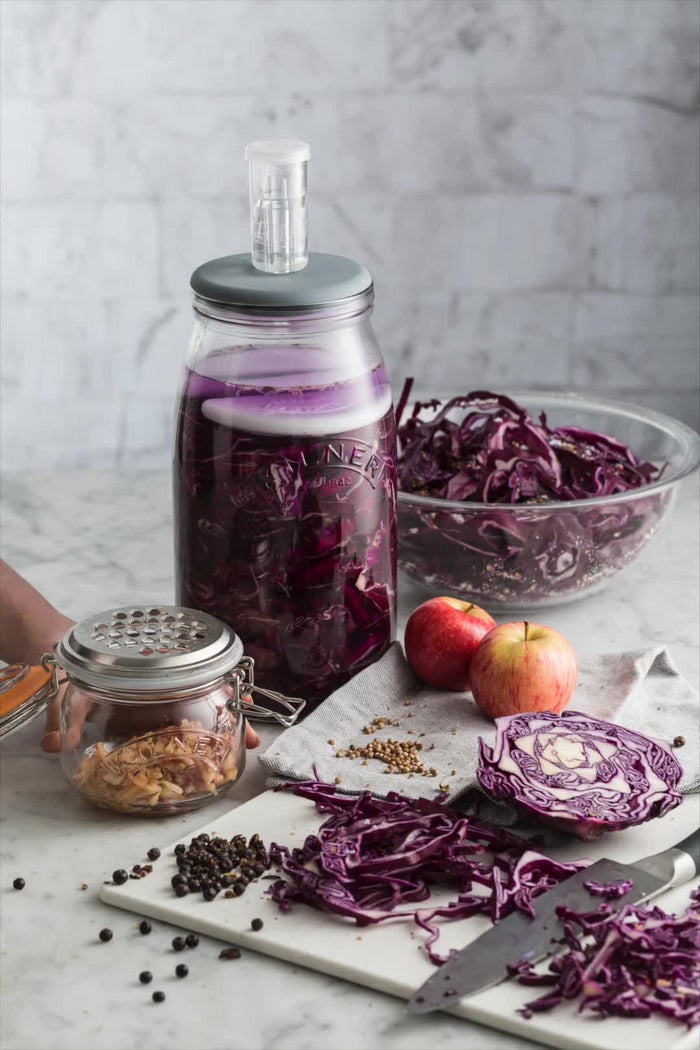
Getting involved with the fermenting hype will revolutionise your mission to become more zero-waste. Once you’ve got the method down, you can make so much from kimchi to ginger ale to yoghurt. Fermenting vegetables is a great way to use up those carrots you forgot about, or prevent all your veg from being ruined while you’re off on holiday. Simple chop and throw it in, and now with the Kilner fermentation set it’s even easier.
Ingredients
600g Carrots
600g Courgettes
600g Parsnips
2 Litres water
3 tbsp salt
Spices/herbs of your choice (allspice, cloves, dill, white pepper, bay leaves, etc.)
Method
Wash all of the vegetables, if desired peel and chop.
Boil all the vegetables in lightly salted water for less than 5 minutes to soften before fermenting.
Once cooled, add the softened vegetables to the Kilner® Fermentation Jar.
Prepare the brine by adding 3tbsp to 2 litres of water; add into the Kilner® Fermentation Jar. The liquid should cover the mixture completely, leaving 6.5cm space between the liquid and the lid.
Add in the ceramic stones to ensure all vegetables are fully submerged in the brine. The ceramic stones are designed to weigh down the contents to ensure that the anaerobic process can begin.
Place the lid on the jar and fill the airlock with water. Leave to ferment at room temperature for 1-2 weeks.
After 1 week, taste test regularly until the desired taste has been reached.
Garlic, Basil & Oregano Butter
Saving the packaging on that pre-made garlic butter and make your own, it’s far easier than you’d expect. To save any dregs of seasoning, or any garlic bulbs that got lost in the back of the cupboard, from the bin, turn them into seasoned butter. Not only have you saved on the packaging and kept your usable food from feeding the bin, but you’ve gained a delicious spread to serve on your fresh bakery bread. Who said zero waste couldn’t be glamorous and sophisticated?
Ingredients
150g unsalted butter
3 cloves of garlic, grated
1 teaspoon of Basil (this can be fresh or dried)
1 teaspoon of Oregano (this can be fresh or dried)
Method
Make sure your butter is at room temperature and free from excess buttermilk.
Place your butter in a bowl and add in the grated garlic, basil and oregano and mix thoroughly.
Shape the butter into a rectangular block using your Kilner Butter Paddles.
Your butter is ready to be served. Melt over pasta for a quick and easy meal or stir into tomato-based sauces for extra taste.
Homemade butter can be covered with wax paper and stored in the fridge for up to a week.
Written By Lucy Harbron


