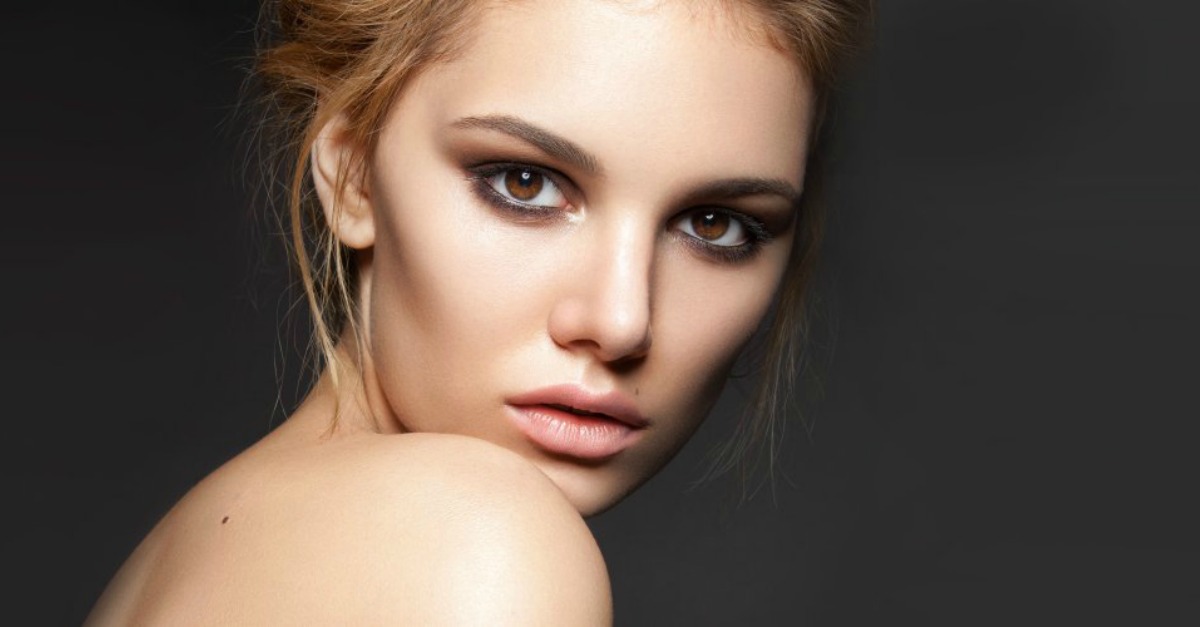
When you apply foundation to your face, you effectively create a blank canvas with no dimensions. In the beauty world, finding a highlighting and contouring routine that works for you is something like the Holy Grail. When it comes to highlighting and contouring your face there’s a fine (orange) line between emphasising your best features and painting on the entire contents of your make-up bag. Unless you can carry off the bronzed-caked look, we suggest you follow our top tips on how to achieve a sculptured face and learn how to contour and highlight like a pro.
When done correctly, highlighting and contouring can give the impression of a stronger, more defined jawline, sharper / chiseled cheekbones and even a slimmer face. Contouring is when you use darker shading to take attention away from the features you’d like to hide or make slimmer and highlighting is when you use lighter shading to draw light towards these areas and emphasise your best features.

Beauty Tools
- You’ll need a cream foundation or a cream bronzer that is four shades darker than your foundation shade. We love the Lord & Berry Cream Foundation (available in a variety of shades) because the formula gives a long-lasting, shine controlled finish which is perfect for playing down the features you want to hide as it won’t reflect the light.
- You’ll also need a cream or liquid highlighter. The Elizabeth Arden Flawless Finish Correcting and Highlighting Perfector Pen is a great lightweight formula that is gentle enough to use around the delicate eye area.
- Use a flathead foundation brush. Getting the right brush is crucial because it will really enable you to press the creams into your skin. We love the Dr. Lewinn's Foundation Brush because it will do most of the hard work for you.
- To blend cream foundations after applying to your face, invest wisely in a round-headed blusher brush that is densely packed. Try the Japonesque Mineral Blush Brush, it won’t let you down!
- Bronzing + Highlighting Powder. These can be bought separately but we’d recommend the Maybelline Master Sculpt Countouring Palette because it contains powdered highlighter and bronzer that will effortlessly blend for a flawless finish.
- Angled Contour Brush. Opt for a tapered edge which will allow for precision like the Japonesque Pro Angled Foundation Brush. The flat side will also help to smooth out creams.
How to Contour
Makeup artists suggest that the simplest way to contour is to use a cream foundation four shades darker than your foundation. Draw a letter ‘E’ on each side of your face – starting at the top of your head by your hairline and following the hairline down before sucking in your cheeks and continuing just underneath your cheekbones. Complete the letter ‘E’ by sweeping the brush under the jawline.
How to Highlight
To highlight, take a cream or liquid highlighter and angled brush and draw the letter ‘C’ on your face. Start above the brows and sweep the brush along the top of the cheekbones. You then blend the cream in a circular motion with the dry blusher brush.

Step-by-Step Guide
Firstly, apply your foundation. Before applying any finishing powder, load up your flathead brush with the cream bronzer or darker foundation.
Remove any access product from the brush by swirling it on the back of your hand.
Starting at the top of your head in the middle – trace the letter ‘E’ around your hairline down to your temple.
To find your cheekbones, suck in your cheeks. Then continue the letter ‘E’ along your cheekbones by sweeping from your temple to underneath the cheekbone.
Work backwards along the underside of your cheekbone to the ear and then down to your jawline. Sweep underneath the jawline for definition. Finish the E by sweeping the brush along and underneath the jawline.
Repeat the contouring process on the other side of your face.
Now swirl off any remaining product on the back or your hand or alternatively use a tissue. Using the same flathead brush, load up the brush with the cream/ liquid highlighter.
Starting above your brow in the middle of your forehead, draw the letter ‘C’ along to your temple and finish below your eye just above your cheekbone. This is a fabulous beauty trick that will draw attention to that area and highlight your eyes.
Repeat the highlighting process on the other side of your face.
To blend both creams into your skin, take your blush brush and trace over the ‘E’s’ and ‘C’s’ in a circular motion.
Finally, use the angled brush and go over the ‘E’ with your bronzing powder and the ‘C’ with your highlighting powder.

